Halloween

NEON SKULL HALLOWEEN SKELETON MAKEUP TUTORIAL | #HQSCARE

Halloween Skeleton Makeup Tutorial | HQhair Blog

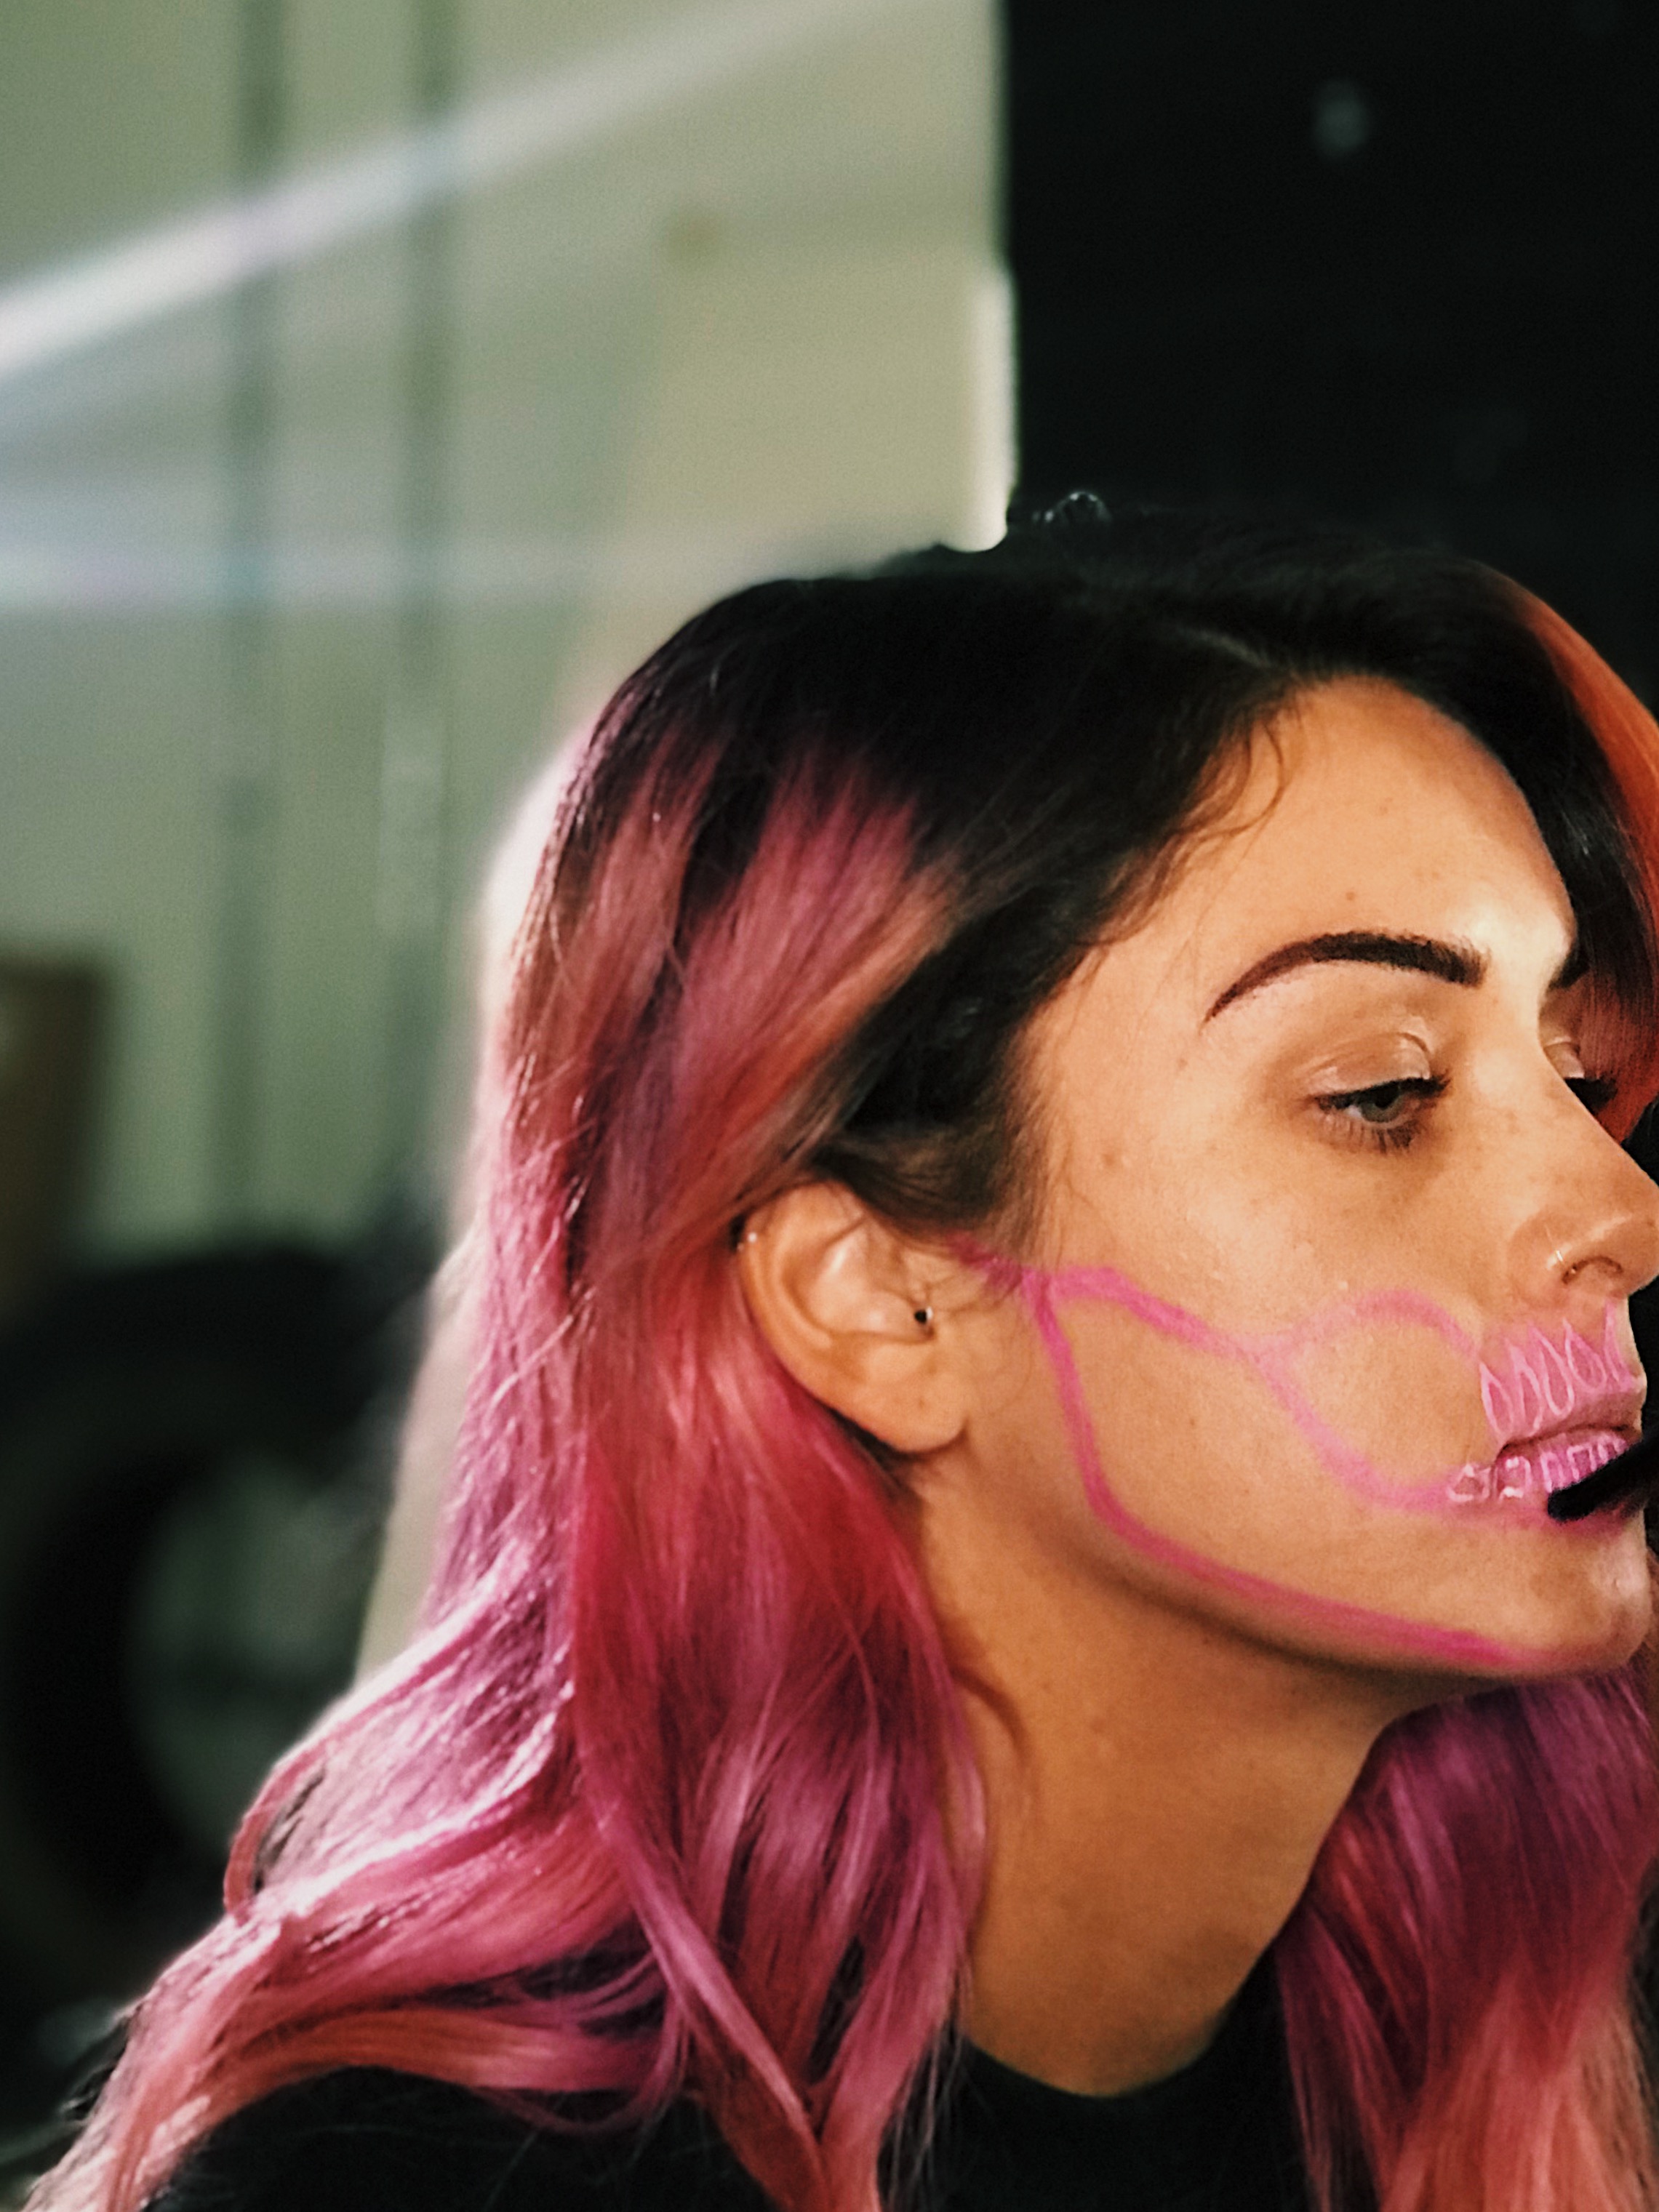
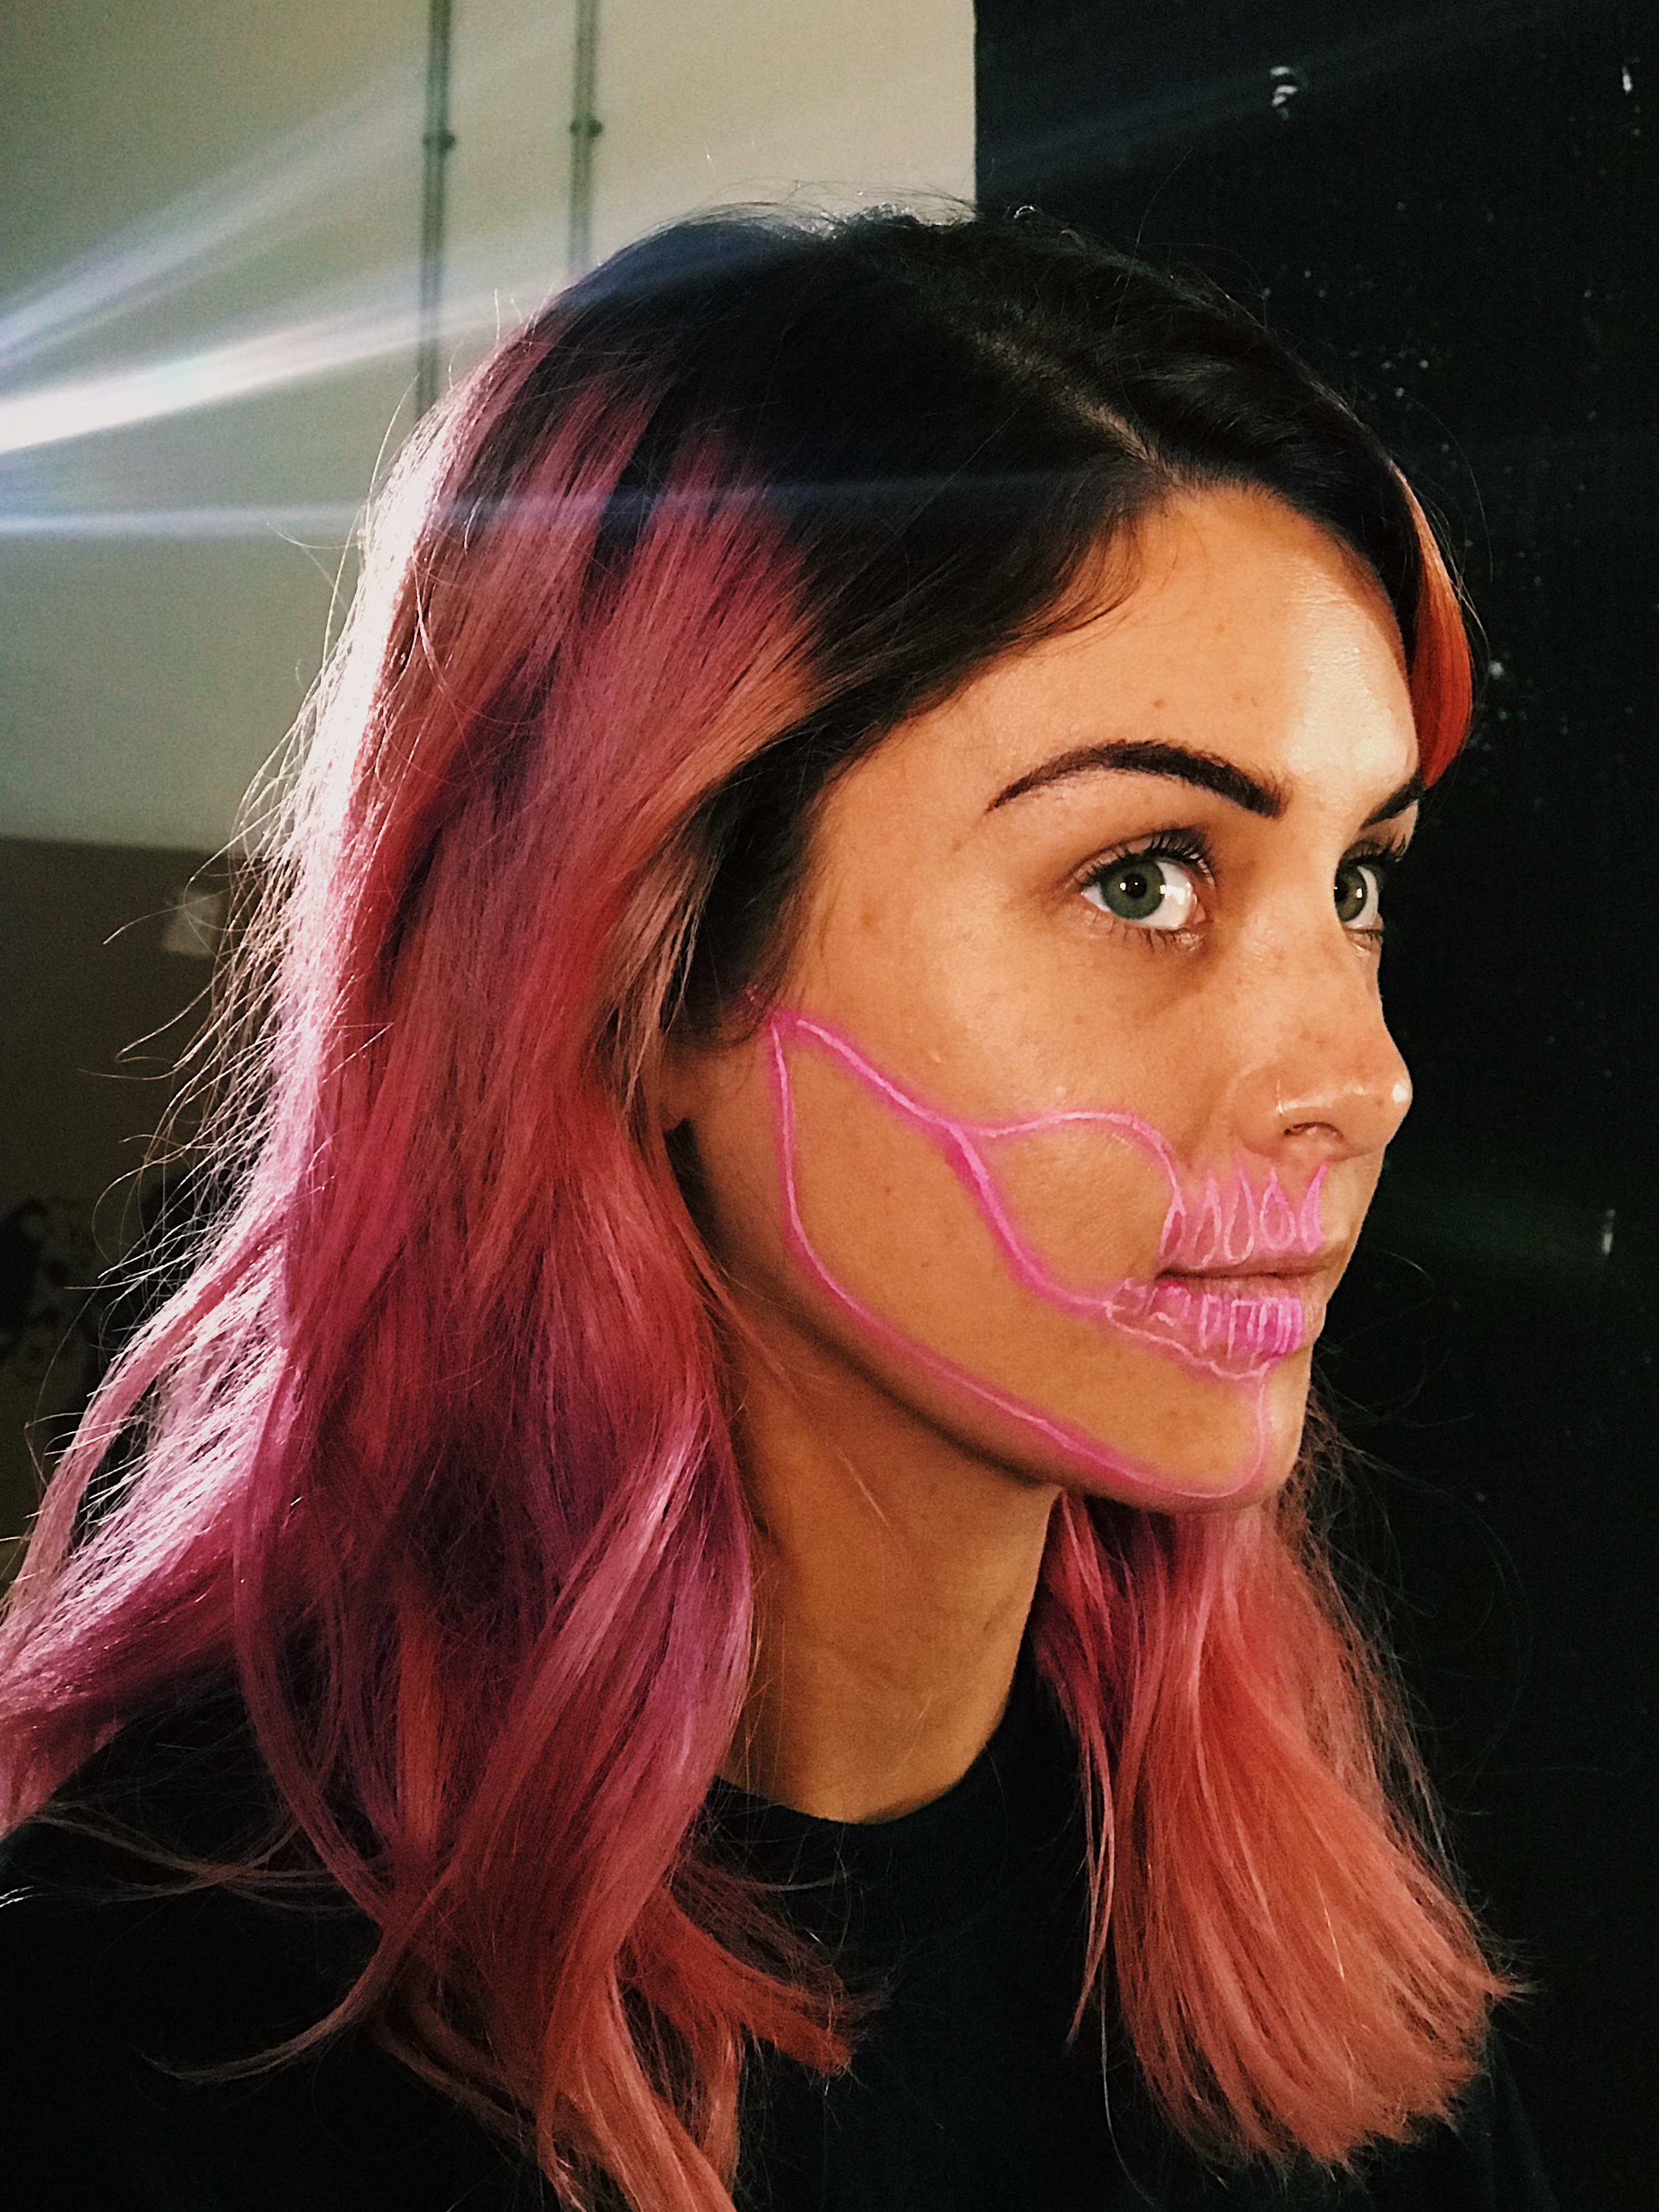
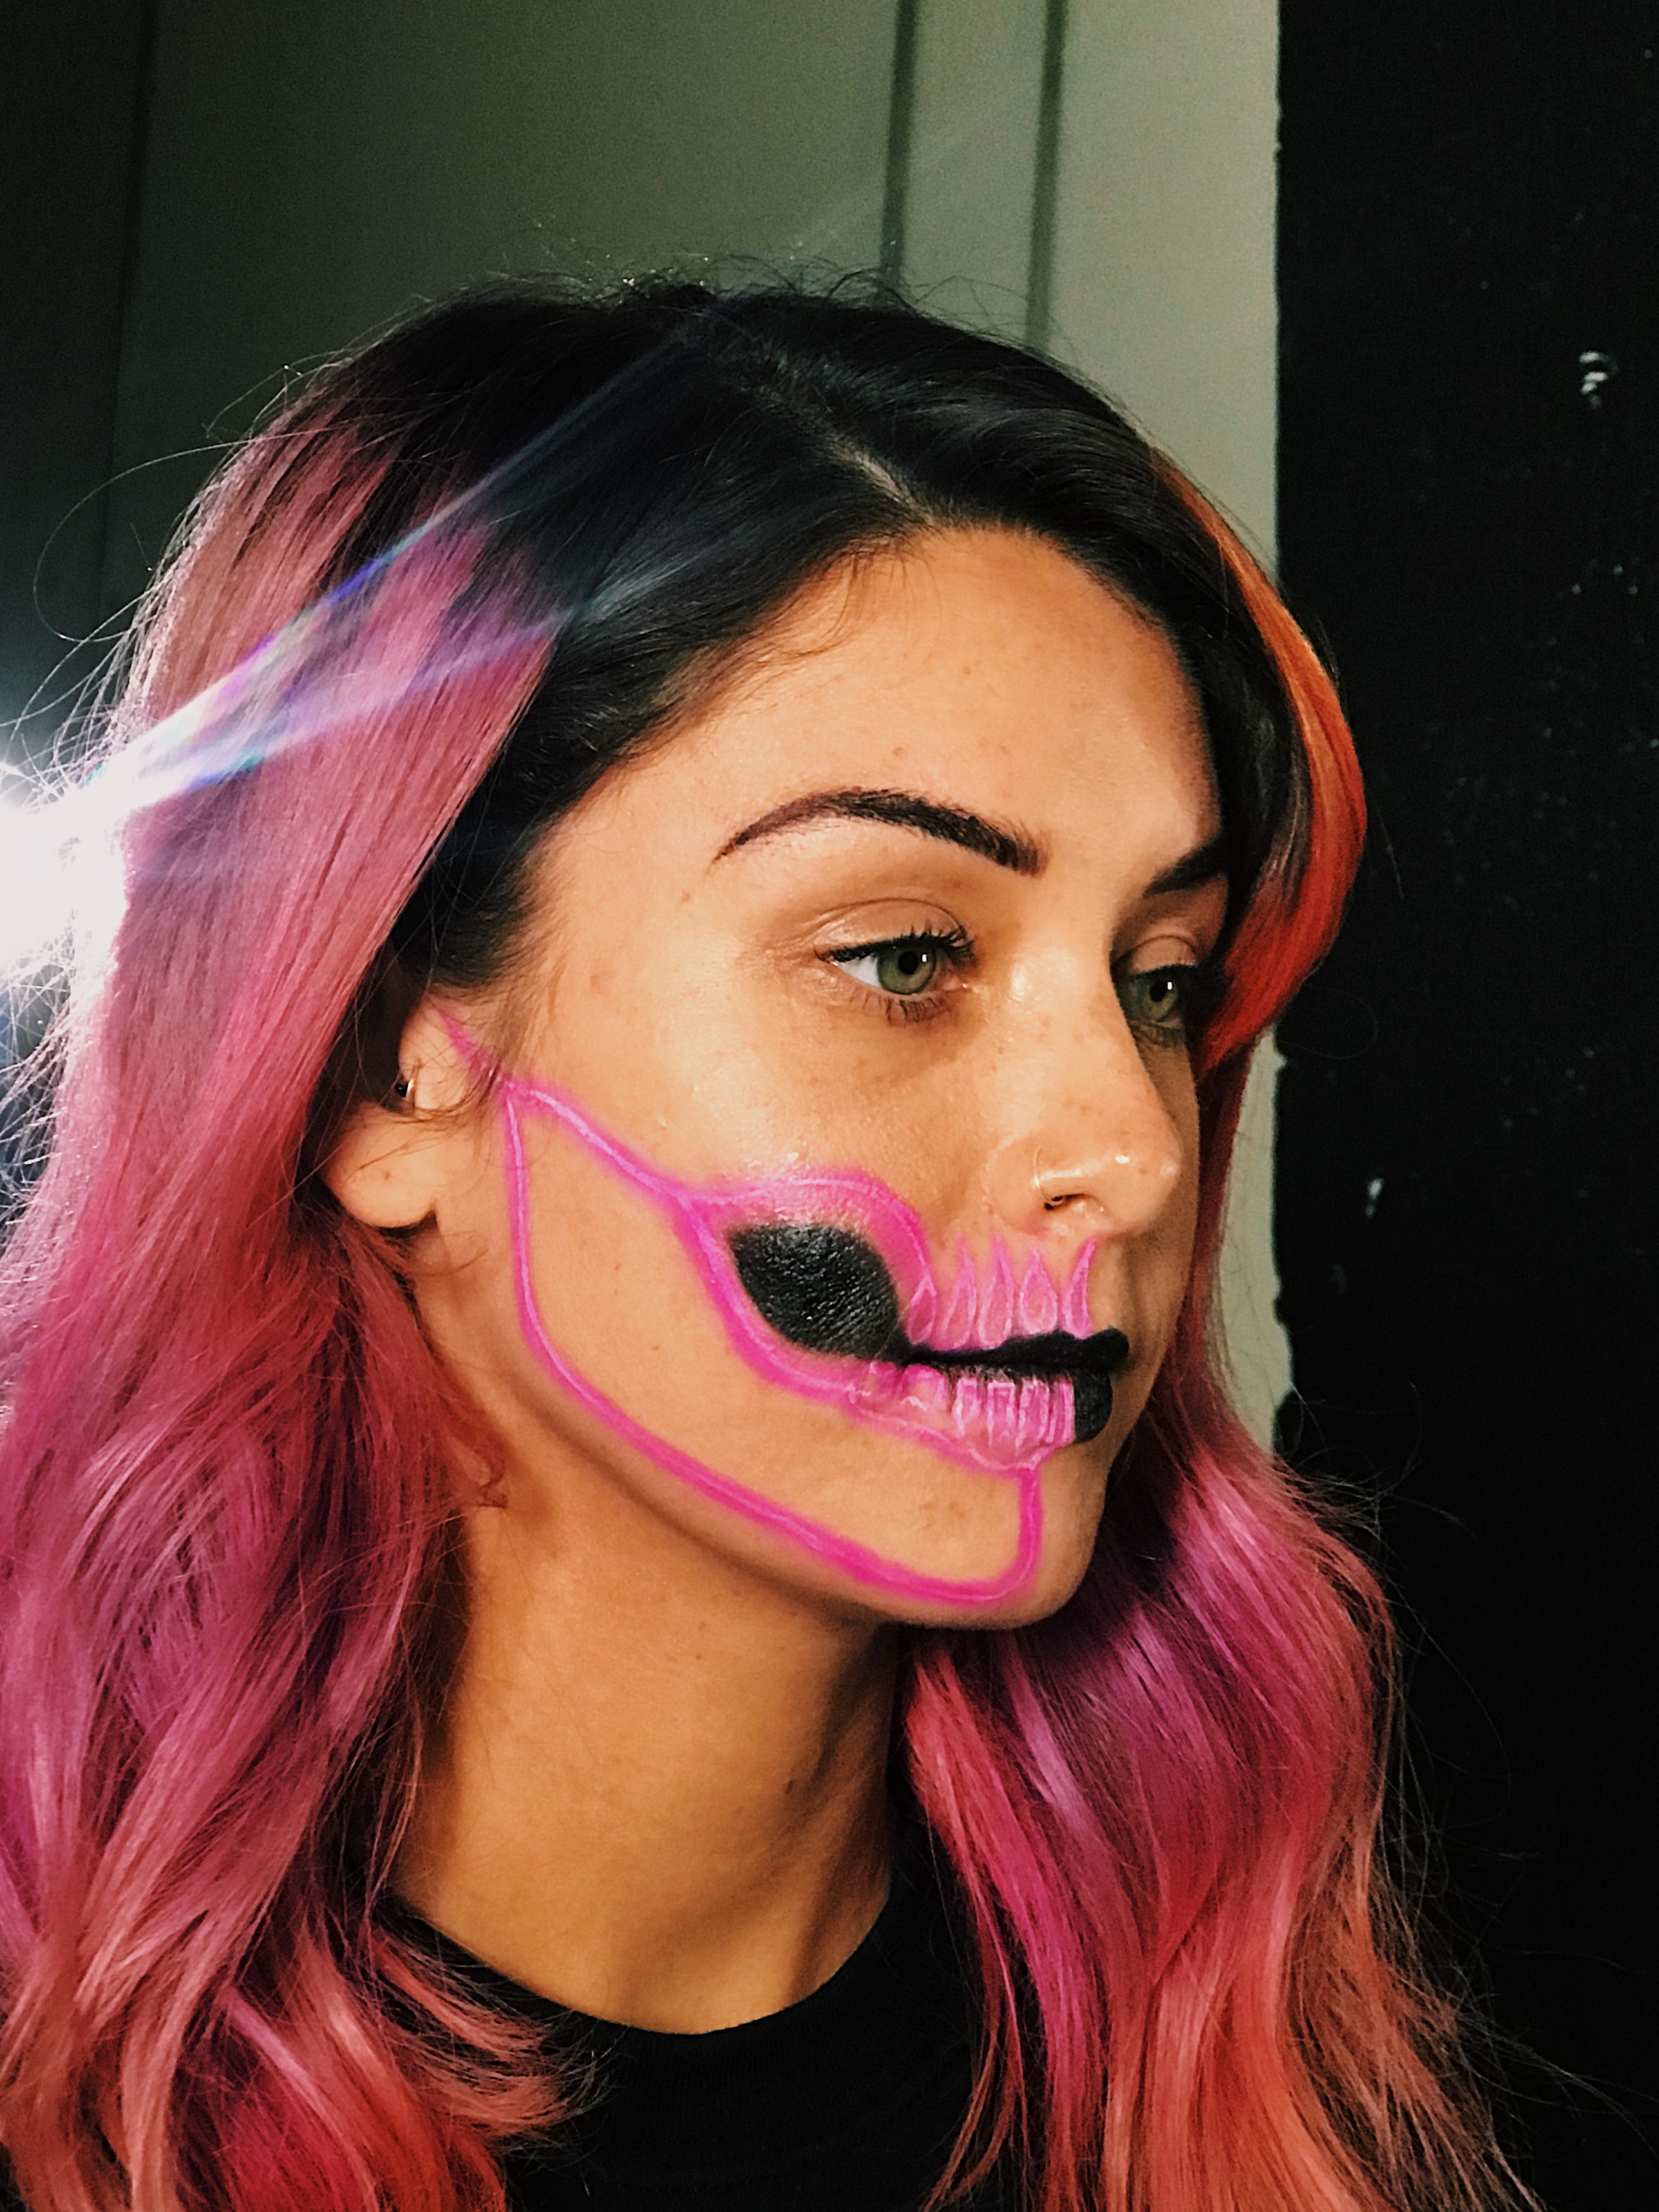
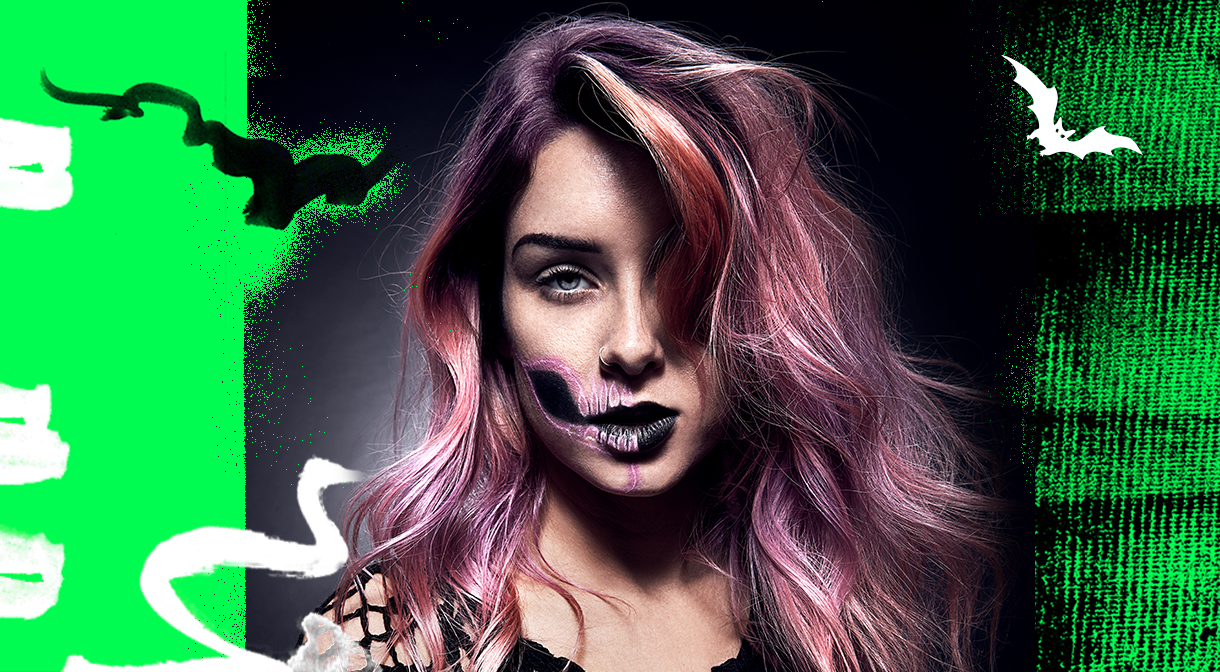
We’ve teamed up with the team at Illamasqua to make sure you slay this Halloween. First up? We’re adding some spice to the classic sugar skull look and showing you how to create this Halloween skeleton makeup look, with a neon skull pop.

Halloween Skeleton Makeup Tutorial

STEP ONE

The first step in our Halloween skeleton makeup tutorial is to create a base. Emily started by applying Matte Veil Primer with her fingers, then layered over with Skin Base foundation, mixing shades 8.5 and 9 with the Round Buffing Brush.

Now it’s time to create the outline for our skeleton makeup, making the basis for the neon skull.

To do this, take the Colouring Eye Pencil in shade Elate (a white colour) and trace tear-shaped “teeth” onto the upper lip, and then repeat this on the bottom lip. Afterwards, trace a line from the furthest out tooth, up to your cheekbone and into the hairline. Draw another line from the further out tooth around the bottom of the apple of your cheek to meet this longer line halfway. Finally, draw a line down from the fullest part of your lip to the bottom of your chin, and then trace just above your jawline to meet the first line.

STEP TWO

Halloween Makeup Tutorials | HQhair Blog

It’s time to make this a neon skull.

Take a pink Illamasqua lipstick – we chose the bright shade Nebula – and apply this right over the white skeleton makeup template you’ve already applied.

Emily did this by picking up colour with the Smoulder Eyeshadow Brush and carefully tracing along the white template to completely cover the original white colour.

STEP THREE

Neon Skull Makeup Tutorial | HQhair Blog

To make sure the neon skeleton look pops, we’ve gotta’ add some more colour.

Mixing the white shade ‘Sex’ Powder Eyeshadow with Sealing Gel, create a paste-like formula. Don’t add in too much Sealing Gel that it becomes a water-like consistency, as we want to make sure it’s packed with pigment and applies easily over the pink colour.

Apply directly to the middle of the pink line with the Fine Lining Brush making sure you leave a pink line on both sides so it looks like a neon light. Once you’ve completed all your lines, gently brush over with the eyeshadow brush you used in step three to gently add a little pink pigment on top of your white to blend the colours together.

STEP FOUR

Halloween Skeleton Makeup Tutorial | HQhair Blog

To finish off your Halloween skeleton makeup, throw some shade and colour between the lines with the brand new Orion Black Lipstick. Simply apply with the densly packed Eyeshadow Brush to build up your black pigment.

Complete the look by tidying up your brows with the Precision Brow Gel in the shade Strike, applied with an Angled Eyeliner Brush.

Halloween Skeleton Makeup Tutorial | HQhair Blog

HAIR

Wanna steal @theglitterygoose’s slayin’ style when it comes to her hair game too? We’ve dropped the products Emily used below so you can be the sassiest skeleton this Halloween.

Start by blow drying your hair with the ghd Air Hair Dryer then add waves with the ghd Curve Classic Tong. We don’t want ringlets, so brush out with a paddle hair brush and apply the TIGI Bed Head Oh Be Hive Dry Shampoo for volume, before finishing with the Wella Professionals Elements Leave-In Conditioner Spray to ensure srsly slayin’ locks all night.


Shop Skeleton Makeup


Loved this Halloween skeleton makeup tutorial?

Keep reading our Halloween Blog

Witch Makeup TutorialZombie Makeup TutorialCat Makeup Tutorial


Vanessa

Vanessa

Writer and expert