HQhearts

How To Create The Perfect Ombré Lip

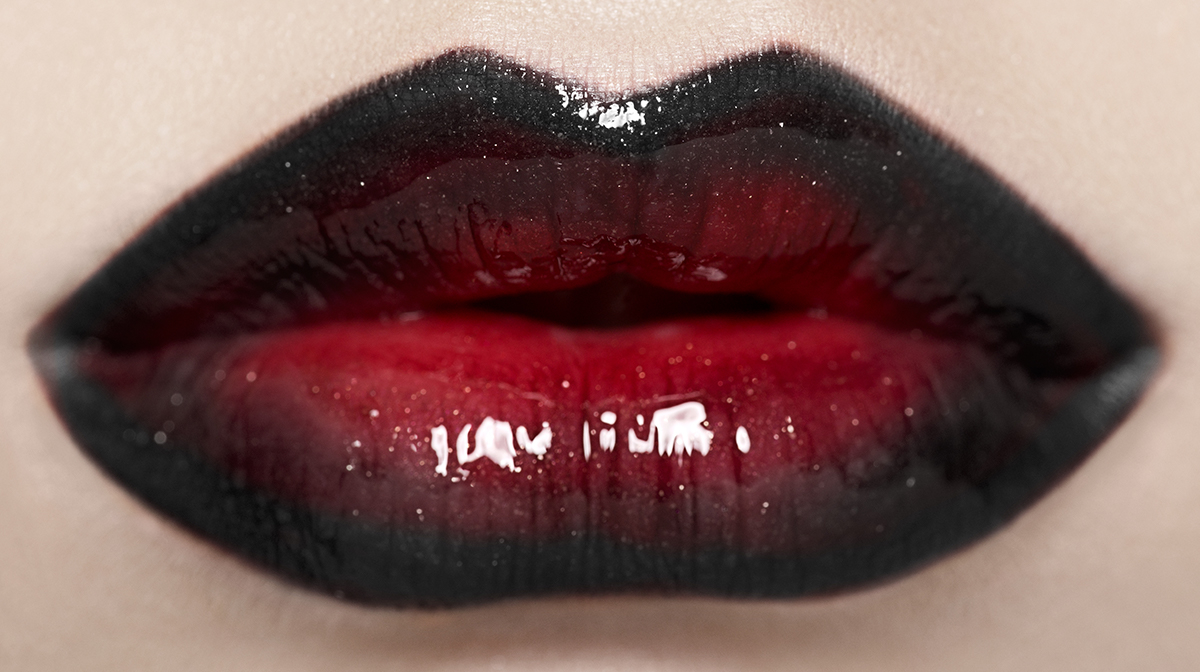
An easy way to give your vivid lipsticks extreme drama, an ombré lip can create a subtle contoured appearance in a few simple steps. To achieve the perfect lip look, it’s essential to use the right products and tools for a seamless fade. Discover how to create the perfect ombré lip with our fool proof guide below!

How To Create The Perfect Ombré Lip

Step 1: Lip Prep

Without a smooth base to work on, your final result will look messy and uneven. Start by using a lip scrub to take away any dead skin, revealing a fresh layer on your lips. Next, swipe on a conditioning, hydrating lip balm and allow it to soak in, protecting your lips and adding moisture.

Step 2: Line Your Lips

Once the lip balm has absorbed, begin by lining your lips. Choose a colour considerably darker than your main lip colour, but still similar. For example, if you’re going for a ombré red lip, use a dark brown or black lip liner. Want a nude lip? Choose a pink shade for your pencil.

Read More: 10 Eyeliners That Won’t Smear No Matter What

Step 3: Apply a Lighter Shade

Using your lipstick, apply it to all of the space on your lips which you didn’t line. Even though it will look quite messy at this stage, make sure to not rub your lips together to blend them, that’s the next step!

Step 4: Blend!

Now this is where the magic happens! Taking a lip brush, gently blend together the two colours to create a gradient effect. When you’re happy with the results, take a sheet of tissue, carefully blot your lips to remove any excess product and you’re ready!

Read More: Get Red Lip Ready

Show us your perfect ombré lip over on Twitter or Instagram tagging @hqhair!


Writer and expert